As dental technician students, mastering the tools of the trade is crucial for creating high-quality dental restorations. One essential piece of equipment you’ll encounter in the dental lab is the Pindex machine, a device that revolutionizes how we fabricate precise, removable stone models. In this tutorial, we’ll walk you through the steps of using a Pindex machine, explore its applications, and highlight its benefits in the dental lab.
What is a Pindex Machine?
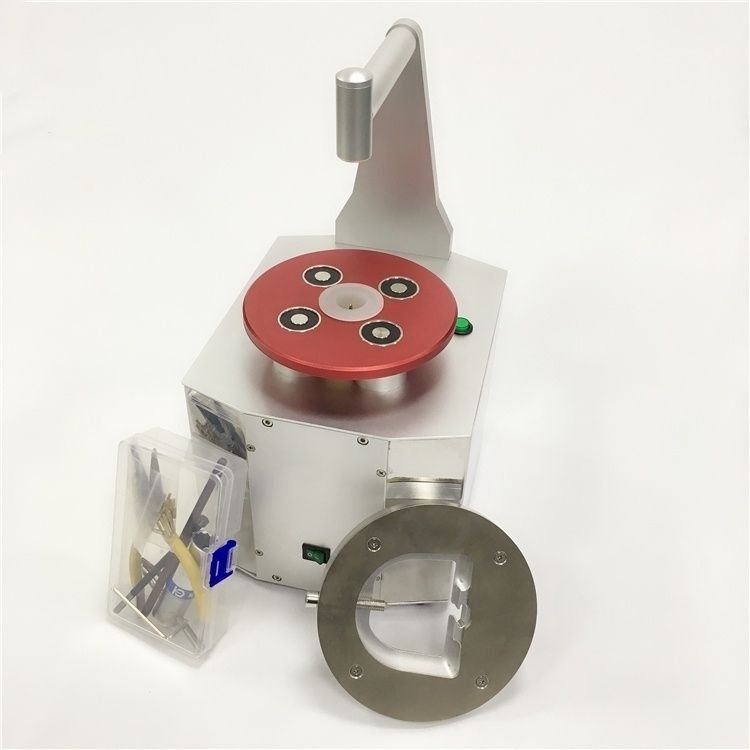
The Pindex machine is designed to drill holes into stone models and insert metal pins (Pindex pins) to create segmented, removable sections. These sections allow technicians to work on individual teeth or arch segments without compromising the model’s overall alignment. Equipped with a laser positioning system, the Pindex ensures pinpoint accuracy, making it indispensable for restorations, orthodontics, and implantology.
Step-by-Step Guide to Using the Pindex Machine
- Prepare the Stone Model: Start with a well-poured stone model from a patient’s impression. Ensure the base is flat and free of bubbles. Apply a thin layer of separating agent to prevent the model from sticking to the Pindex base.
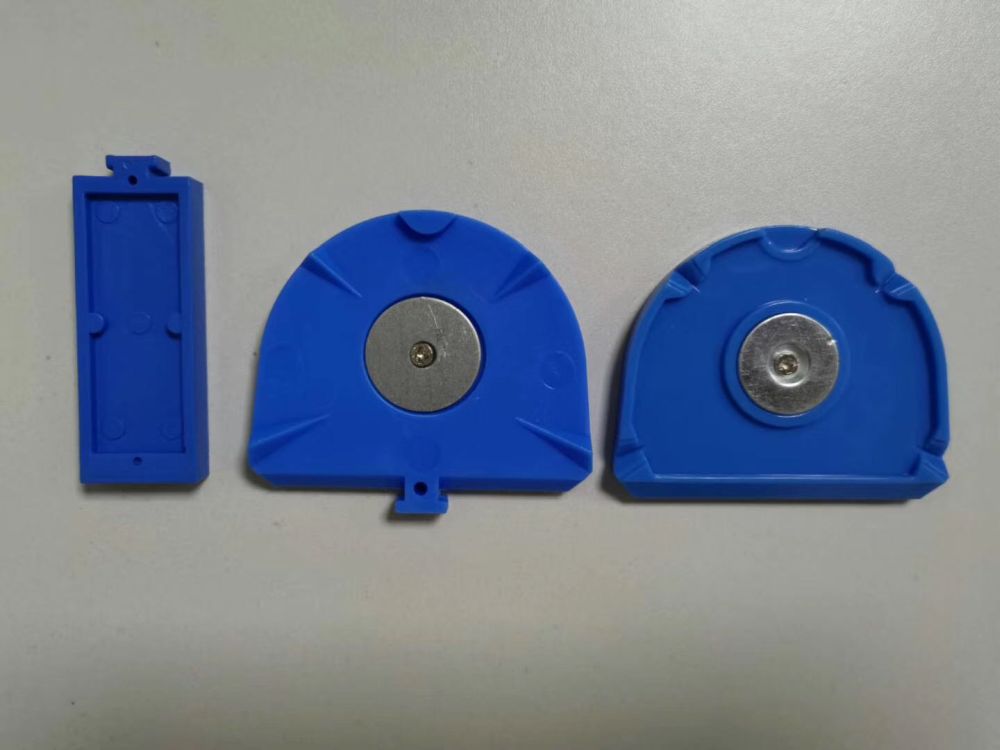
- Secure the Model: Place the model on the Pindex machine’s rotating worktable. Use a rubber base plate (often blue, as seen in many kits) to stabilize the model and align it properly.
- Laser Positioning: Activate the laser guide to mark drilling points, typically at the root of each tooth or critical areas. Adjust the laser to ensure precise alignment for each pin.
- Drill Holes: Engage the drill, keeping it steady and vertical. The machine’s preset depth ensures consistency. Drill at each marked point, cleaning debris between holes.
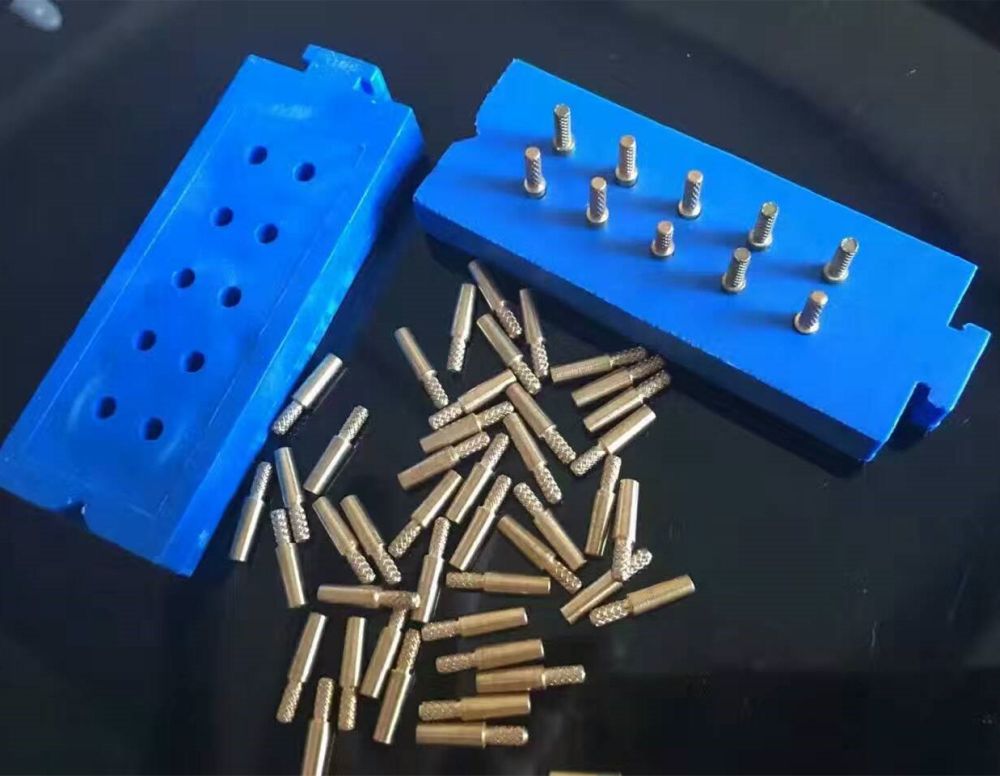
- Insert Pindex Pins: Apply a small amount of adhesive into each hole and insert the Pindex pins, ensuring the heads are flush with the model’s base. Allow the adhesive to set.
- Create the Base: Pour stone into a base former (a metal or plastic mold) to encase the pin bottoms, forming a solid foundation. Once set, separate the model from the base.
- Segment the Model: Use a thin saw to cut the model into removable sections along predetermined lines. The pins ensure sections snap back into place accurately.
Dental Lab Applications
The Pindex machine shines in various applications:
- Fixed Restorations: Create precise models for crowns, bridges, and inlays, allowing isolated work on specific teeth.
- Orthodontics: Fabricate diagnostic models to analyze tooth alignment and plan treatments.
- Implantology: Support implant placement by providing stable, accurate models for surgical guides.
Benefits of the Pindex Machine
- Precision: Laser-guided drilling ensures pinpoint accuracy, critical for complex restorations.
- Efficiency: Removable segments save time by eliminating the need for multiple models.
- Versatility: Suitable for a wide range of dental procedures, from prosthodontics to orthodontics.
- Durability: Pindex pins maintain model integrity, allowing repeated assembly without wear.
Final Tips
Practice makes perfect—start with simple models to hone your skills. Regularly clean the Pindex machine and check the drill bit for wear to maintain accuracy. As you gain confidence, you’ll appreciate how the Pindex machine streamlines workflows and elevates the quality of your lab work.
By mastering the Pindex machine, you’re equipping yourself with a skill that enhances precision and efficiency in the dental lab. Happy pinning!
Helpful resource, for dental lab technican looking for pindex dental dowel pins, equipment,here is an essential resource at Dental Laboratorio.
